|
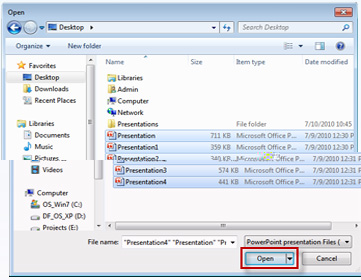
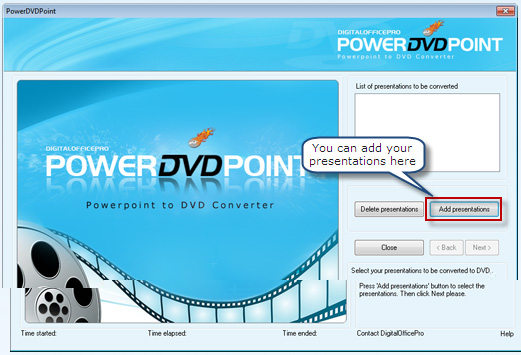
Select the presentations to be converted and click on OPEN button.
�
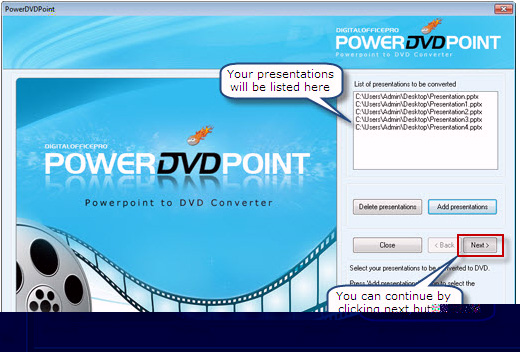
Presentations to be converted are listed in PowerDVDPoint interface. Now
click on NEXT button.
�

Click on the BROWSE button and select a location to save the converted
presentations. Then select NEXT button.
�
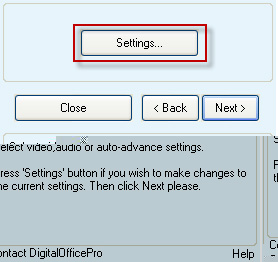
Click on the SETTINGS button to edit PowerDVDPoint Settings
Here you can modify settings for Audio, Video, Auto slide advance and TV
settings. After modifying settings, click on OK button. Again click on
NEXT button. This will open up the PowerDVDPoint Menu Designer
settings window.
�

The Menu Designer Settings allows you to edit the following options:-
|
Background Properties
|
:
|
You can browse / select and
apply a Background Image or Color for the Root menu of DVD player
|
|
Sound
|
:
|
Allows you to select and play a
sound effect for the Root menu of DVD player. Currently it supports MP3
format only.
|
|
Template
|
:
|
You can select and apply a
Template file from the drop down list (as the background effect) for the
Root menu of DVD player
|
|
Title
|
:
|
Provide a Title for the DVD
menu, change Fonts and option to Align the Title Text
|
|
Thumbnail Properties
|
:
|
Option to select thumbnails and
give a Caption / Title to each presentation and modify Font of each Caption
/ Title Text.
|
After making the modifications, click on CREATE button and then the OK
button.
Click on NEXT button which will list the PowerDVDPoint Audio
Properties message box.
�
Follow instructions and then click on CLOSE button.
Now select START CONVERSION button to begin the conversion process.
Now if you want to insert your Video Narration on slides, tick on � Enable
Video Narration option.

Now select START CONVERSION button to insert narration on slides.
The video capturing window is activated for the Web Camera to start Capturing
Narrations. Here will see many options on the capturing window.

|
Show Cam
|
:
|
Tick ON this option to activate
web camera
|
|
Set Position
|
:
|
Tick ON this option to set
camera position
|
|
Settings
|
:
|
You can change camera setting
properties here
|
|
Start / Pause
|
:
|
Select this option to start or
pause the narration process
|
|
Next
|
:
|
Select this option to play
the effects applied on slides and to advance slides
|
|
Cancel Conversion
|
:
|
To cancel conversion process
|
Select the Start option to begin narration using a microphone. Then
select Next to play the effects applied on slides and to advance
slides. Make sure you select Next option to play each and every effect
applied on slides. [You can coordinate between narration and effects applied
on slides. Depending on narration you can click on NEXT to get the
animation effects to play on slides and then slide advancement]. Repeat
steps to insert video narration on other presentations. Once narration is
completed, you will notice the presentations getting converted and video
files generated.
�
After video generation you will see this conversion completed message.
Select OK.
�

On selecting OK, you get this message.
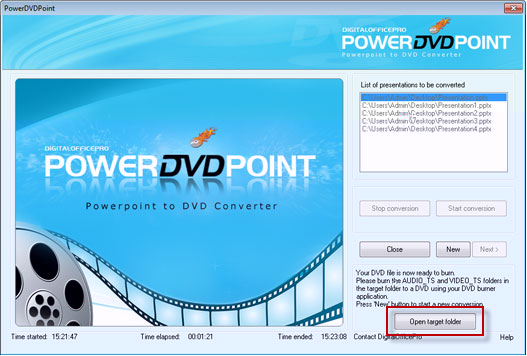
Select Open Target Folder button to view the converted files
and the target folder.
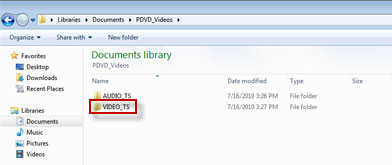
Burn both the listed folders to DVD disk to play on third party hardwares. To
play the converted presentation on your PC double click the VIDEO_TS
folder to list the files.
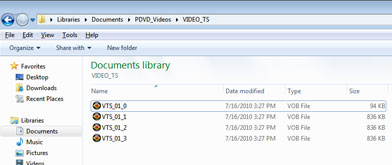
Select and double click the VTS_01_0.IFO file and the presentation
will start playing. (Make sure a DVD software player is installed on
your PC)
To Exit from PowerDVDPoint interface click on CLOSE button and
the application is closed.
|